If you’ve been told you need a dental implant, the procedure can sound intimidating — a titanium screw going into your jaw is not something most people hear about every day. In reality, it’s a well-established process broken into clear stages, and understanding each step makes the whole thing far less daunting.
The 7 Steps of a Dental Implant Procedure
Step 1 — Consultation and CBCT Scan
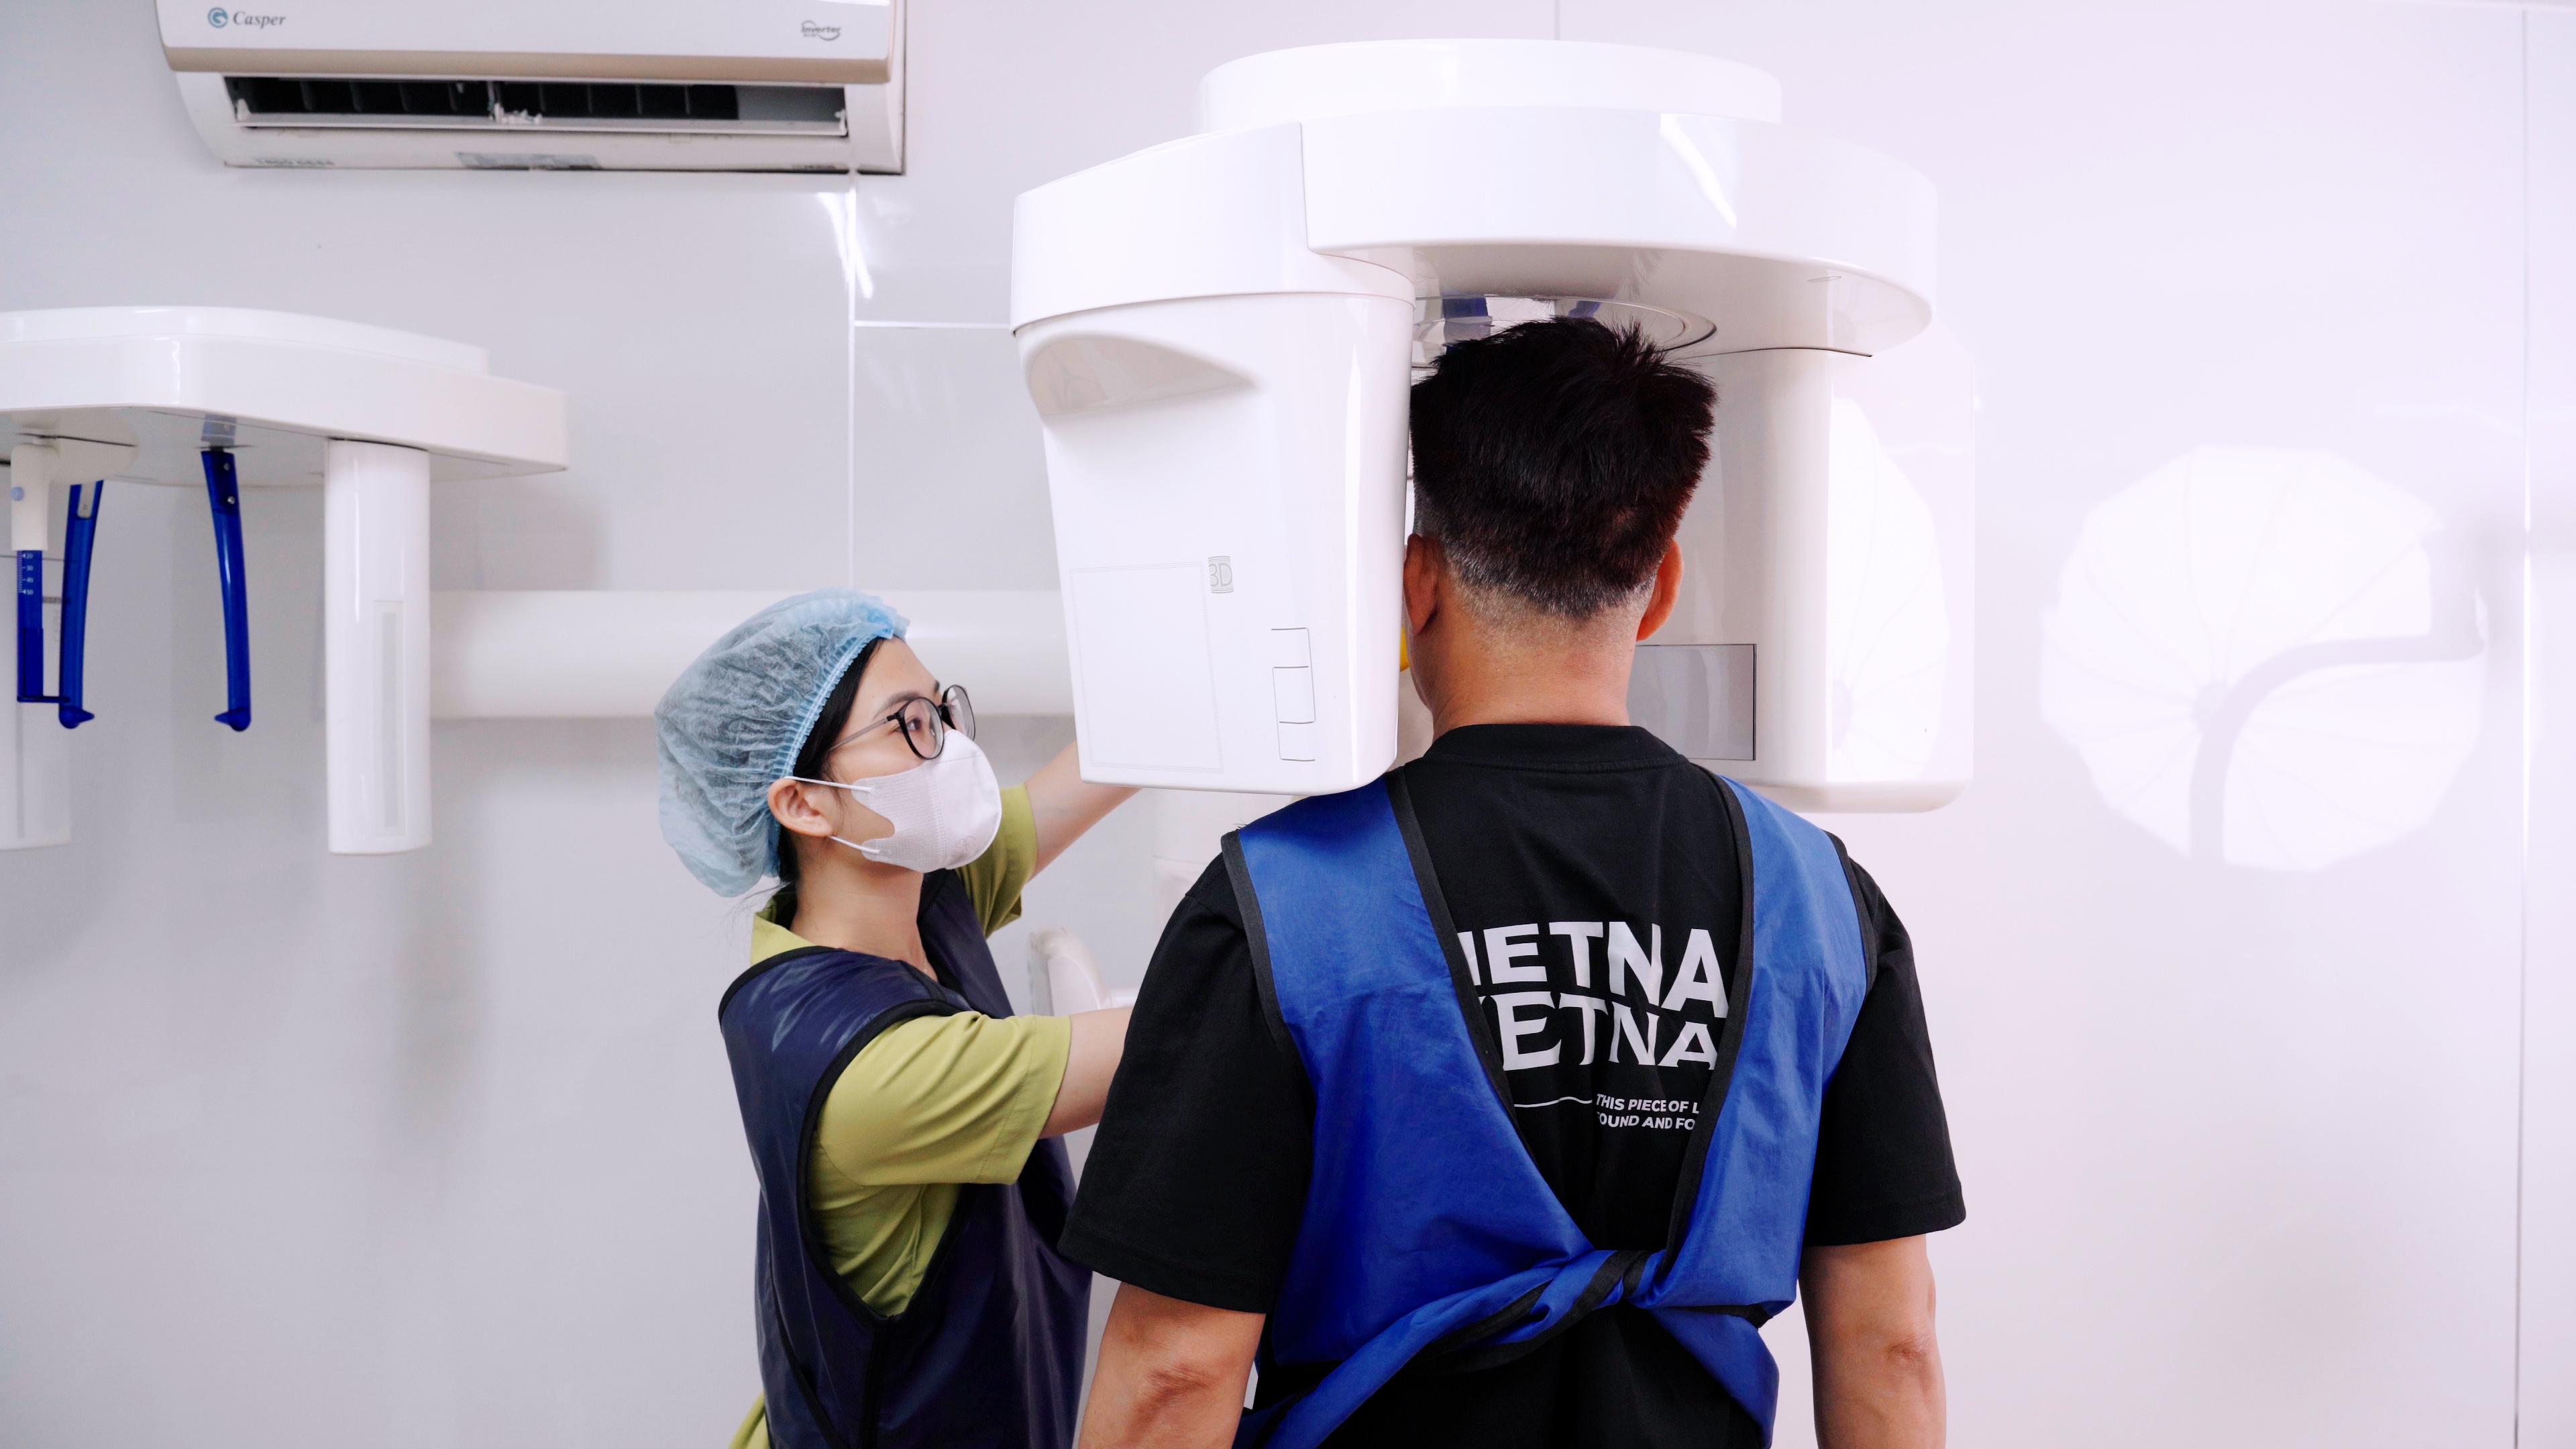
Everything starts with a thorough assessment. Your dentist takes X-rays and, critically, a CBCT (cone beam computed tomography) scan — a 3D image of your jawbone that shows bone density, nerve positions, and sinus proximity. This data drives the entire treatment plan: how many implants, which angle to place them, and whether any preparatory work (like bone grafting) is needed.
Expect this appointment to take 60–90 minutes. In Hanoi, CBCT imaging is typically included in the consultation fee or charged at a low flat rate.
Step 2 — Extractions (If Required)
If the tooth being replaced is still present, it must be extracted first. Many clinics perform a same-day extraction and implant placement — called immediate implant placement — when bone volume and quality are sufficient. Your surgeon will confirm whether this is an option after reviewing your CBCT.
Step 3 — Implant Post Surgery
This is the core surgical step. Under local anaesthetic, the surgeon makes a small incision in the gum, drills a precise channel into the jawbone, and seats the titanium implant post. The gum is then sutured closed over or around the implant.
Each implant takes 30–60 minutes. You’ll feel pressure and vibration, but the area is fully numb. Most patients describe the experience as less unpleasant than a root canal. You can return to light activity the same day.
Step 4 — Healing Cap or Temporary Crown
Once the implant is placed, a healing abutment (cap) or temporary crown is attached. This shapes the surrounding gum tissue while the implant integrates with the bone below. Some patients opt for a temporary tooth for aesthetic reasons during this waiting period — your clinic will advise on what suits your case.
Step 5 — Osseointegration (3–6 Months)
Osseointegration is the process by which living bone cells grow into and fuse with the titanium surface of the implant. This biological bonding is what gives implants their permanence and bite strength.
The waiting period is 3–6 months depending on bone density, implant location, and your overall health. You don’t feel this happening — it’s passive healing. For dental tourists, this is typically the period you return home and come back for the final fitting. See our guide on how long to stay for dental implants for trip-planning advice.
Step 6 — Abutment Attachment
Once osseointegration is confirmed (usually via X-ray), the healing cap is removed and a permanent abutment is screwed onto the implant post. The abutment is the connector piece that protrudes above the gumline and holds the final crown in place.
This appointment is minor — typically 20–30 minutes with no anaesthetic required.
Step 7 — Final Crown or Prosthetic Fitting
The last step is fitting your custom crown, bridge, or denture. Impressions (or a digital scan) were taken at the abutment stage; the lab fabricates a crown matched to your bite and adjacent tooth colour. The crown is then cemented or screwed onto the abutment.
At this point, the implant is functionally and aesthetically complete. With proper care, implants are designed to last 20–30 years or longer.
What Can Go Wrong?
Dental implants have an excellent track record. Global clinical data puts the failure rate below 3%, and most failures are predictable and preventable.
The main risk factors:
- Smoking — reduces blood flow to the jawbone and is the single biggest predictor of implant failure
- Low bone density — insufficient bone volume may require grafting before implant placement
- Uncontrolled diabetes — impairs healing; well-managed diabetics have near-normal success rates
- Poor oral hygiene — peri-implantitis (gum infection around the implant) can develop years post-surgery if oral care lapses
Signs of early failure include persistent pain, implant mobility, or unusual swelling beyond the first week. Caught early, many complications can be treated without losing the implant entirely.
Choosing a clinic with a documented implant success rate, in-house CBCT imaging, and recognised brand hardware significantly reduces your risk. See our dental implants treatment page for full guidance. Hanoi clinics with proven implant track records include Picasso Dental Old Quarter, Australian Dental Clinic, and Westcoast International Dental.
What Does a Dental Implant Cost in Hanoi?
Hanoi offers some of the most competitive implant pricing in Southeast Asia without sacrificing brand quality.
| Brand | Origin | Hanoi Price (per implant) |
|---|---|---|
| Straumann | Switzerland | $1,000–$1,500 |
| Nobel Biocare | Sweden | $900–$1,400 |
| Osstem | South Korea | $500–$900 |
By comparison, a single implant in Australia or the UK typically costs $3,500–$6,000, and in the US $3,000–$5,500. Even factoring in flights and accommodation, most patients save $3,000–$8,000 on a multi-implant treatment. Our full breakdown is in the dental implant savings guide.
Related Reading
- Dental Implants in Hanoi — Full Treatment Guide
- How Long to Stay in Hanoi for Dental Implants
- Hanoi Dental Prices 2026
- Is Dental Work in Vietnam Safe?
- How to Combine a Holiday with Dental Treatment
Sources
- Vietnam Odonto-Stomatology Association — clinical guidelines and implant success data for accredited Vietnamese clinics, 2024.
- Hanoi Department of Health — list of licensed dental facilities operating in Hanoi, updated Q1 2026.
- Journal of Implant and Reconstructive Dentistry (Vietnamese edition) — peer-reviewed osseointegration outcomes in Southeast Asian populations, Vol. 14, 2025.
- Vietnam National Hospital of Odonto-Stomatology — patient outcome reports and treatment pricing disclosures, 2025.